Guitar Project 1 - Alba Telecaster
The Alba Telecaster was a cheap buy, as new, through Ebay. Bought as a practice project for future higher quality works.
Project stages
- 01. Strip guitar
- 02. Sand the body and head
- 03. Dismantle the effects pedals including de-soldering the input, output and power
- 04. Measure, position and mark the effects and battery locations taking note of cable routes
- 05. Router out the recess for each effect, battery compartments
- 06. Drill or router cable paths
- 07. Filler any unrequired screw holes from old scratchplate position
- 08. Primer, paint and lacquer the body and head
- 09. Acquire perspex for new scratchplate, design, cut and smooth
- 10. Re-fit hardware where possible
- 11. Acquire special audio cable and power cables
- 12. Mount the effects into the guitar, spacing the circuit from the body
- 13. Wire up and solder the effects, batteries and switches
- 14. Acquire any new knobs, switches and LED's and install
- 15. Install new scratchplate, faceplate or backplate
Project News
18-11-09
The project is already underway at stage 11! The guitar has a new metallic purple paint job. The two effects ready to be installed are a cheap Belcat chorus effect and a Danelectro T-Bone distortion effect. A smoked effects faceplate is already shaped and is to be underlit with LED light so the circuit boards will be visible. You may notice in any photos that I have used an old bit of timber cut to fit the neck recess so the guitar can be handled more easily than using string. A freshly painted guitar swinging on string is a bit awkward!
Photos
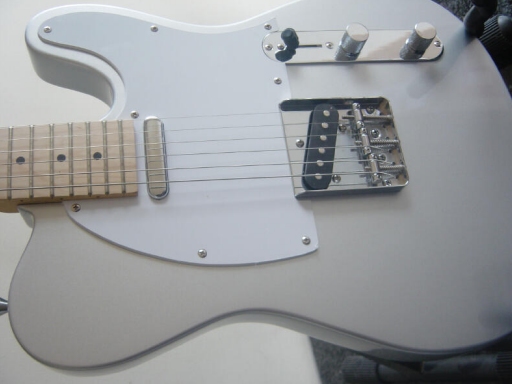
Original appearance. (Not my photo.)
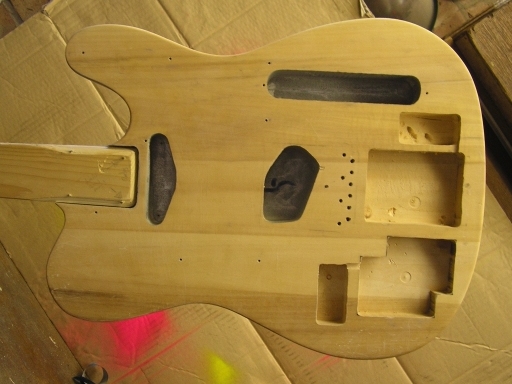
Sanded and routered.
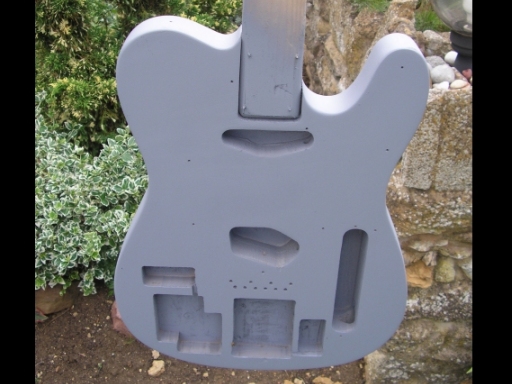
Grey primer.
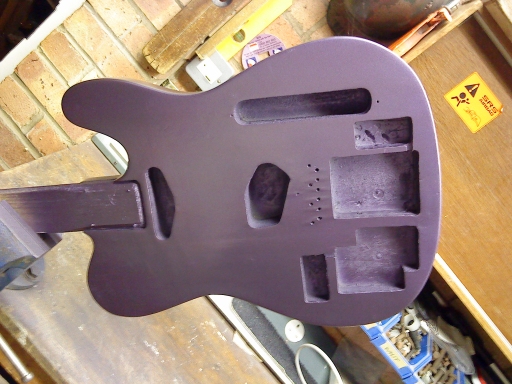
First coat of purple.
17-09-10
The project is almost complete and ready for first test! The two effects are wired and soldered. The smoked perspex scratchplate I accidently cracked whilst drilling the penultimate hole! After a little cursing I decided to replace it with lightweight sheet aluminium obtained for the race car project. I now like the appearance better. I will post the wiring diagrams up as soon as I confirm them to work! They are obviously very simple in comparison to advanced and professionally wired guitars! I now have the last effects on/off switch to install so I'll leave this update to progress and organise photos for uploading!
11-01-11
As predicted, a month ago the wiring was proved incorrect! I am trying to figure out what is wrong before I continue!
More photos due soon